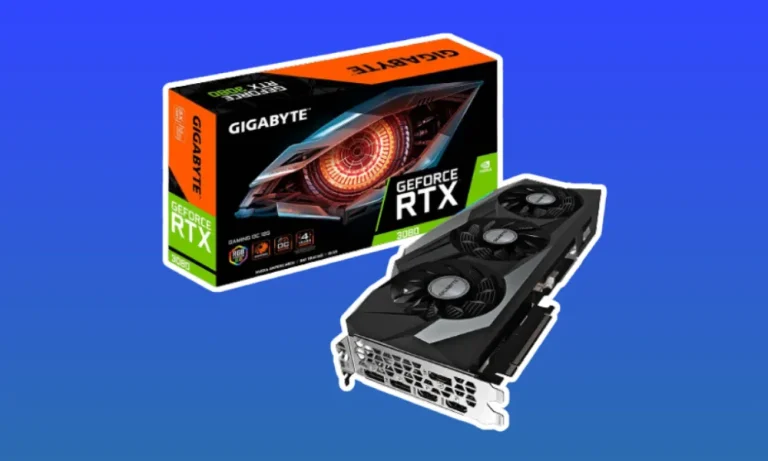
How Do I Make Minecraft Use My Nvidia GPU?
Are you tired of laggy Minecraft gameplay and pixelated graphics? Don’t worry, we’ve got you covered! In this article, we’ll show you how to make Minecraft utilize your Nvidia GPU for an ultimate gaming experience. Say goodbye to sluggish performance and hello to smooth gameplay with our step-by-step guide!
Optimizing Minecraft Settings
Are you looking to improve the performance and visuals of your Minecraft gameplay? Optimizing the in-game settings can make a world of difference! Here, we will guide you through various Minecraft settings that you can tweak to enhance your gaming experience, whether you’re seeking smoother gameplay or better graphics.
Adjusting Graphics Settings
1. Render Distance: The render distance determines how far you can see in the game. Lowering it can significantly improve performance. Start with a lower value and gradually increase it to find the balance between performance and visibility.
2. Graphics Quality: If you have a lower-end system, consider lowering the graphics quality settings such as particles, clouds, and fancy graphics. This can reduce the strain on your system and improve performance.
3. Smooth Lighting: Disabling smooth lighting can help boost performance, especially on older machines. Experiment with different settings to find the right balance between visual quality and performance.
Tweaking Performance Settings
1. Max Framerate: Limiting the maximum framerate can prevent your system from working harder than necessary. Set a reasonable maximum framerate that matches your monitor’s refresh rate.
2. VSync Enabling VSync can help eliminate screen tearing but may introduce input lag. Experiment with disabling or enabling VSync to see which setting works best for you.
3. Advanced Settings: In the video settings, explore options like lowering the mipmap levels, disabling the biome blend, and adjusting entity shadows to further optimize performance.
Other Considerations
1. Java Version: Ensure you have the latest version of Java installed, as it can improve performance and stability.
2. Resource Packs and Mods: Be mindful of resource packs and mods you install, as they can impact performance. Opt for lightweight options or disable them if necessary.
Allocating More RAM to Minecraft
Is your Minecraft game feeling sluggish or experiencing frequent lag? One effective way to improve performance is by allocating more RAM to Minecraft. Here, we’ll explain what RAM is, why it’s important for Minecraft, and provide a step-by-step guide on how to allocate more RAM to the game.
Understanding RAM and its Role in Minecraft
RAM (Random Access Memory) is a crucial component of your computer that stores data for quick access by the CPU. Minecraft relies heavily on RAM to load and process various game elements, such as textures, chunks, and entities. Insufficient RAM allocation can lead to performance issues and reduce the overall gameplay experience.
Step-by-Step Guide to Allocate More RAM
1. Check System Requirements: Before allocating more RAM, ensure that your computer meets the recommended system requirements for Minecraft. Upgrading hardware may be necessary for optimal performance.
2. Launch the Minecraft Launcher: Open the Minecraft Launcher and click on the “Installations” tab.
3. Create a New Installation: Create a new installation profile by clicking on the “+ New” button. Give it a name and select the Minecraft version you want to allocate more RAM to.
4. Allocate More RAM: Scroll down to the “More Options” section and locate the “JVM Arguments” field. Add the following command: -Xmx4G (replace 4G with the desired amount of RAM, such as 8G for 8 gigabytes). This example allocates 4GB of RAM to Minecraft.
5. Save and Launch: Save the installation profile and launch the game. Minecraft will now have access to the allocated RAM, improving performance.
Monitoring and Benchmarking Minecraft Performance
Are you curious about how well your computer is handling Minecraft? Monitoring and benchmarking your Minecraft performance can provide valuable insights into the game’s optimization and help you identify areas for improvement. Here, we’ll explain what monitoring and benchmarking mean in the context of Minecraft, why they are important, and how you can do it yourself.
Understanding Monitoring and Benchmarking
Monitoring involves keeping an eye on various performance metrics while playing Minecraft. This can include monitoring FPS (frames per second), RAM usage, CPU usage, and GPU usage. By monitoring these metrics, you can identify performance bottlenecks and make informed decisions about optimizing your system.
Benchmarking refers to running specific tests or scenarios to measure the performance of your computer while playing Minecraft. Benchmarking can help you compare your system’s performance to others and identify areas where improvements can be made.
How to Monitor and Benchmark Minecraft Performance
1. FPS Monitoring: To monitor FPS, consider using a mod or installing third-party software that displays your FPS in-game. Keep an eye on the FPS counter and note any significant drops or fluctuations.
2. System Monitoring Software: Utilize system monitoring software like MSI Afterburner, CAM, or HWMonitor to track CPU and GPU usage, as well as RAM usage. These tools provide real-time data that can help you identify performance issues.
3. Benchmarking Tools: Use benchmarking tools like Minecraft Benchmark or Novabench to run performance tests and evaluate your system’s capabilities. These tools provide detailed reports and comparisons to help you gauge your performance.
4. Experiment and Optimize: Based on the monitoring and benchmarking results, you can experiment with different settings, hardware upgrades, or software optimizations to improve your Minecraft performance.
FAQ’s
1. Why is it important to make Minecraft use my Nvidia GPU?
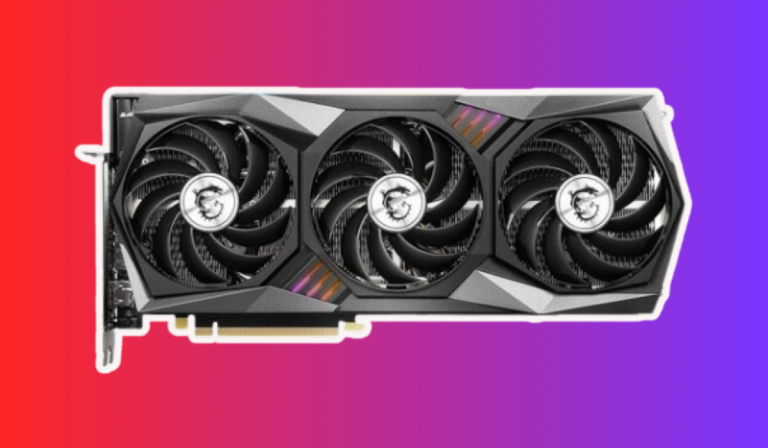
Using your Nvidia GPU for Minecraft can significantly improve performance and graphical quality. Your GPU is specifically designed for rendering graphics, and by utilizing it, you can experience smoother gameplay, faster frame rates, and enhanced visual effects in Minecraft.
2. How can I check if Minecraft is using my Nvidia GPU?
To check if Minecraft is utilizing your Nvidia GPU, you can enable the FPS counter in Minecraft settings. If you notice a significant increase in frame rates or improved graphics quality, it indicates that Minecraft is indeed using your Nvidia GPU.
3. What if Minecraft still doesn’t use my Nvidia GPU after following the steps?
If Minecraft continues to use your integrated GPU instead of the Nvidia GPU, ensure that you have the latest Nvidia drivers installed. Additionally, double-check the Nvidia Control Panel settings to confirm that you have selected the correct preferred graphics processor for Minecraft. Restarting your computer after making changes can also help apply the settings correctly.
4. Can I make Minecraft use my Nvidia GPU on a laptop?
Yes, you can make Minecraft use your Nvidia GPU on a laptop by following the same steps mentioned above. However, depending on your laptop’s power settings, it may automatically switch between the integrated GPU and the Nvidia GPU to conserve battery life. Adjusting the power settings to prioritize performance can help ensure that Minecraft consistently utilizes the Nvidia GPU.
Conclusion
Optimizing Minecraft to use your Nvidia GPU can unlock a world of improved performance and stunning graphics. By following a few simple steps in the Nvidia Control Panel, you can ensure that Minecraft utilizes the full potential of your powerful graphics card. Get ready to experience Minecraft like never before!

